

Duct tape is one of those incredibly versatile tools that seems to have a use for just about everything. From quick household fixes to elaborate DIY projects, it's a staple in many toolboxes and craft rooms. As a duct tape supplier, I've seen firsthand the countless creative ways people use our product. One question that often comes up is whether duct tape can be used to make a wall organizer. In this blog post, I'll explore this idea in detail, discussing the feasibility, the steps involved, and the potential benefits and drawbacks.
The Feasibility of Using Duct Tape for a Wall Organizer
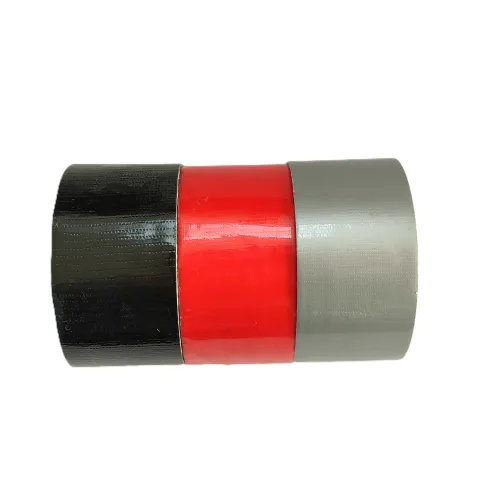
Duct tape is known for its strong adhesive and durability, which makes it a promising material for creating a wall organizer. It can be easily cut and shaped, allowing for a high degree of customization. Additionally, duct tape comes in a variety of colors and patterns, so you can create a wall organizer that matches your personal style or the decor of your room.
However, there are some limitations to using duct tape for this purpose. First, duct tape is not as rigid as traditional materials like wood or plastic. This means that the organizer may not be as sturdy, especially if you plan to hang heavy items on it. Second, the adhesive on duct tape may not hold up well over time, especially if it's exposed to heat, moisture, or sunlight. This could cause the organizer to peel off the wall or lose its shape.
Steps to Make a Duct Tape Wall Organizer
If you decide to give it a try, here are the steps to make a basic duct tape wall organizer:
- Gather Your Materials: You'll need duct tape in your preferred color or pattern, a ruler, a pair of scissors, and a flat surface to work on. You may also want to use a piece of cardboard or foam board as a backing for added stability.
- Plan Your Design: Decide on the size and shape of your organizer. You can create compartments of different sizes for storing various items, such as pens, pencils, keys, or small gadgets. Sketch out your design on a piece of paper to get a clear idea of how it will look.
- Cut the Duct Tape: Use the ruler and scissors to cut strips of duct tape in the appropriate lengths and widths for your design. You can cut the strips straight or at an angle, depending on your preference.
- Create the Compartments: Start by laying a strip of duct tape sticky side up on the flat surface. Place another strip of duct tape sticky side down on top of the first strip, aligning the edges. Press the two strips together firmly to create a double layer of duct tape. Repeat this process to create the compartments for your organizer.
- Assemble the Organizer: Once you have all the compartments cut and ready, start assembling them together. Use additional strips of duct tape to connect the compartments and form the overall shape of the organizer. Make sure to press the tape firmly to ensure a strong bond.
- Attach the Organizer to the Wall: If you're using a backing, place the organizer on top of the backing and secure it with more duct tape. Then, use a piece of double-sided tape or a strong adhesive to attach the organizer to the wall. Make sure the wall is clean and dry before applying the adhesive.
Potential Benefits of Using Duct Tape
Despite its limitations, there are several benefits to using duct tape to make a wall organizer:

- Cost-Effective: Duct tape is relatively inexpensive compared to traditional materials, making it a budget-friendly option for creating a custom organizer.
- Easy to Make: The process of making a duct tape wall organizer is simple and requires minimal tools and skills. You can complete the project in just a few hours, even if you're a beginner.
- Customizable: With a wide range of colors and patterns available, you can create a unique and personalized organizer that reflects your style. You can also easily modify the design or add new compartments as needed.
Other Uses of Duct Tape
In addition to making a wall organizer, duct tape has many other practical uses around the house. Here are some examples:
- Duct Tape for Carpet: Duct tape can be used to repair a torn or frayed carpet. Simply cut a piece of duct tape to the appropriate size and place it over the damaged area, sticky side down. Press the tape firmly to ensure a good bond.
- Duct Tape for Windows: If you have a broken window or a drafty area, you can use duct tape to seal the gap. Cut a strip of duct tape and place it over the crack or opening, pressing it firmly to create a tight seal.
- Duct Tape Water Leak: In case of a minor water leak, duct tape can be a temporary fix. Wrap the tape tightly around the leaky pipe or faucet to stop the water from flowing. However, keep in mind that this is only a temporary solution, and you should call a professional plumber to fix the problem as soon as possible.
Conclusion
In conclusion, duct tape can be used to make a wall organizer, but it has its pros and cons. While it's a cost-effective and customizable option, it may not be as sturdy or long-lasting as traditional materials. If you're looking for a quick and easy way to organize your space and don't mind a less permanent solution, then a duct tape wall organizer could be a great choice.
As a duct tape supplier, I'm always excited to see the creative ways people use our product. If you have any questions or need more information about duct tape, feel free to reach out. We offer a wide range of high-quality duct tapes suitable for various applications. Whether you're a DIY enthusiast or a professional, we have the right product for you. Contact us today to discuss your requirements and start your next project with confidence.
References
- "The Complete Guide to Duct Tape Crafts" by Jane Smith
- "DIY Home Organization Ideas" by John Doe